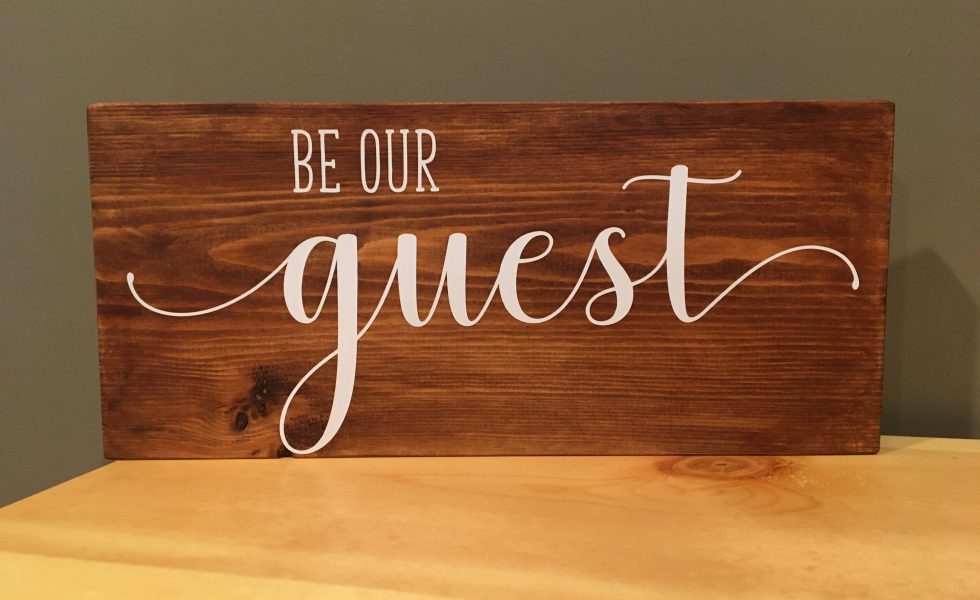
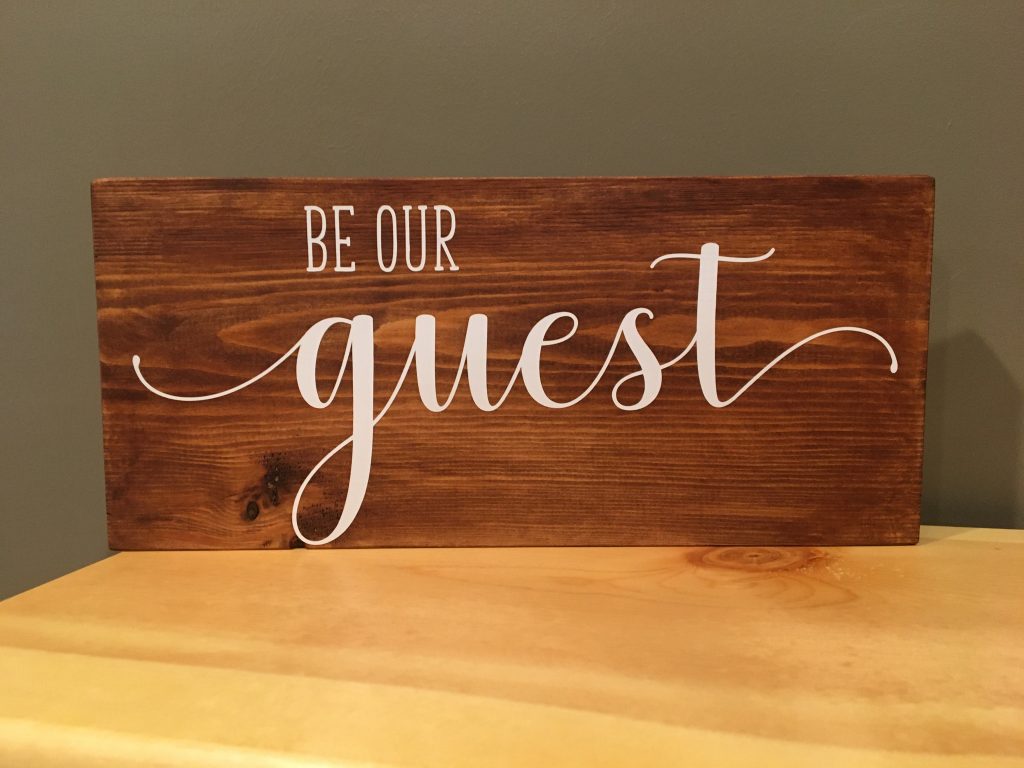
It’s a chilly, rainy Saturday here and guess how I spent my day…creating stuff! I love this sign. I think the colors are perfect together and it was super quick to do. I put together a quick little tutorial for you DIYers out there. I made this in under 15 minutes (aside from waiting for the stain to cure on the piece of wood). It’s super easy!
First, the things you’ll need to do this project:
- Cricut Cutting Machine (I have an Explore Air 2)
- Cricut Cutting Mat (I used the green standard grip mat)
- Cricut Basic Tools – Weeder and Scraper
- White Matte Vinyl – Oracal 651 (Found here)
- Transfer tape (I used clear Contact paper on this project)
- Stained board
- Be Our Guest svg from Maggie Rose Design (Found here)
When you are ready to begin, upload the svg into Design Space and place it on your canvas. You can adjust the size to fit your needs (mine is 11 inches wide by 5 inches tall).
Place your vinyl on the mat, load it into your machine, check your settings (it must be on the vinyl setting) and click on the green Make It button. Be sure to clear anything that might be in the path of the mat.
Once you are finished cutting the image, it’s time to weed! That simply means to pull out the unwanted stuff. Some people love to weed, others hate it. I have a love-hate relationship with it myself. The Weeding tool from the basic tool kit is your friend. I think I use this and the scraper more than any other tool. Below you can see a partially weeded image. I promise I did pull out the vinyl in the letters. 😀
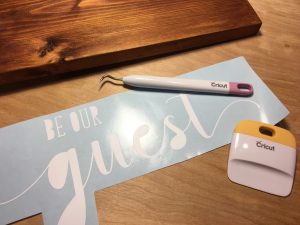
When the weeding is done, I use Contact paper to transfer my vinyl image to the final piece. In this case, I’m using a stained piece of wood. Just simply place the peeled contact paper over your image. Be sure to use your scraper from the basic tool kit to burnish (smooth) your transfer medium to your vinyl image.
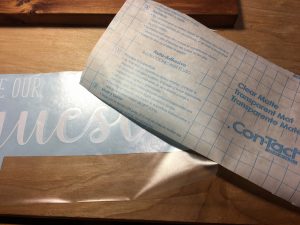
I find peeling the heavy vinyl backing off is easier if you do it upside down like pictured below. I also bend it back to almost flat and peel slowly. If you find that a piece of vinyl isn’t coming off the backing, just push it back down again with your weeding tool (it’s quite a handy little tool!).
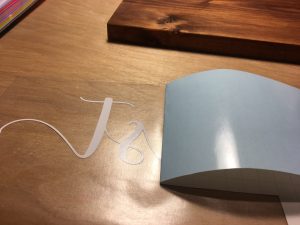
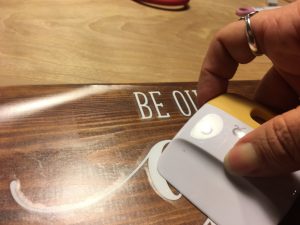
Now you are ready to put your image on the wood. This is getting exciting, right?? I find that lining it up can be hard at times, if you are having trouble, you can lightly use pencil markings to help you center your image. I have done that before and it erases nicely. Your friends will never know!
As you are laying your image down, use your scraper tool to burnish the vinyl. It pushes the vinyl down and makes it stick to the wood. I do this all over the piece making several passes. You don’t want the vinyl to peel up.
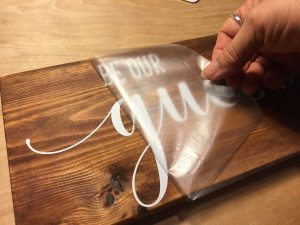
Gently and slowly peel the contact paper back at an angle. That will help prevent the vinyl from coming up. Sometimes, I do have issues and the vinyl will come up as I’m peeling the contact paper back. I just lay it back down, burnish again and start over with the gentle, slow peeling. Some surfaces are terrible and it’s super hard to get the vinyl to stick. You just have to keep at it.
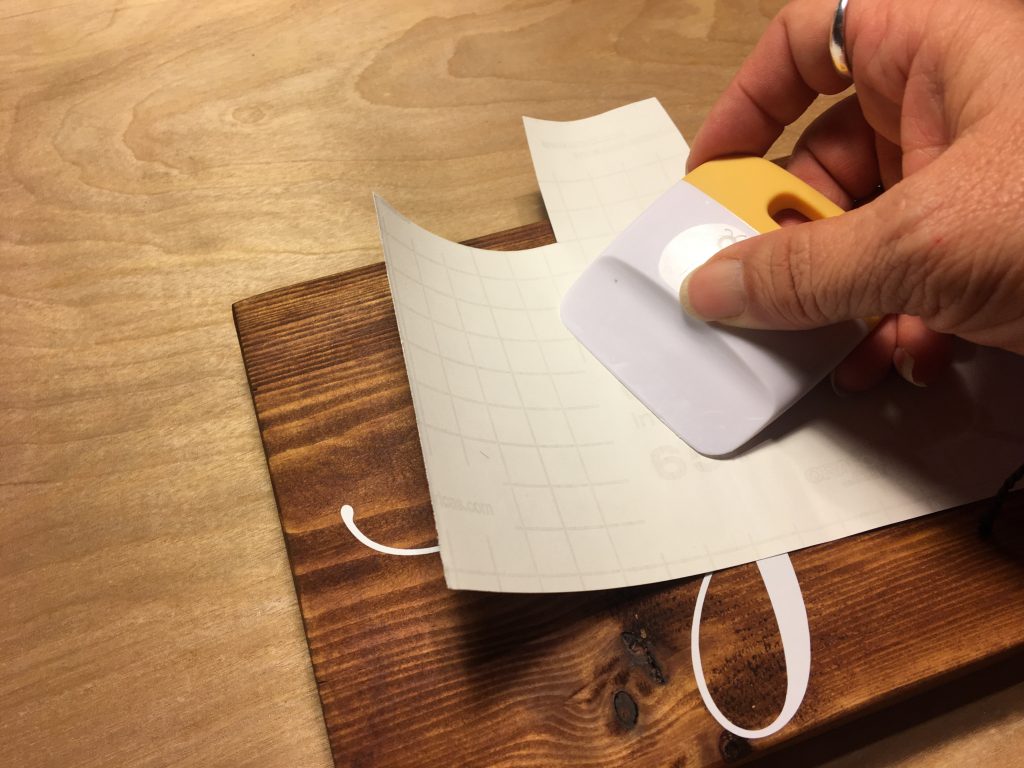
One final step before I consider myself completely done with a project. I use the leftover backing from my image to do one last burnish. I use the backing so I don’t ruin the gorgeous vinyl that I just worked so hard to place. I don’t know if others do this as well, but I feel like it’s just one more thing I can do to make sure my vinyl is securely in place.
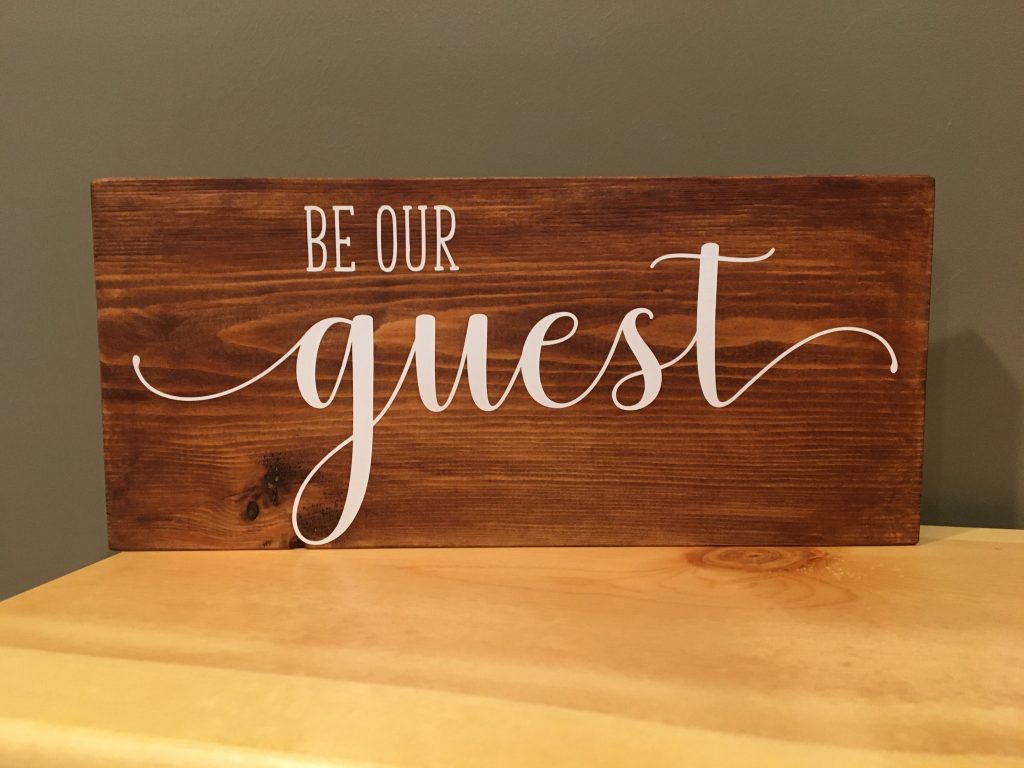
I do just love how this turned out! Now I need to find a place to put it.
I hope this tutorial was helpful. Please feel free to contact me if you have any questions about my process. It sounds like a lot and sometimes it really is a lot of work, but I enjoy it and the end result is fabulous.
Be sure to check out my Facebook page to see more fun projects!!

