I love doing glass etching. It adds a little more elegance to your projects than vinyl. I don’t do as much as I would like to and it’s really not as hard as it seems. If the thought of doing it intimidates you, I have a little tutorial below to show you just how easy it is.
First things first, here are things you’ll need for glass etching:
- Glass product (glasses, casserole dish, cutting board, etc.)
- Armour Etch (you can find it here)
- Removable vinyl – color doesn’t matter (I use Oracal 631 found here)
- Blue painter’s tape
- Paint brush or sponge dauber
- Cricut Explore Air (or whatever cutting machine you have)
- Cricut tools
- Transfer medium (I always use blue painter’s tape)
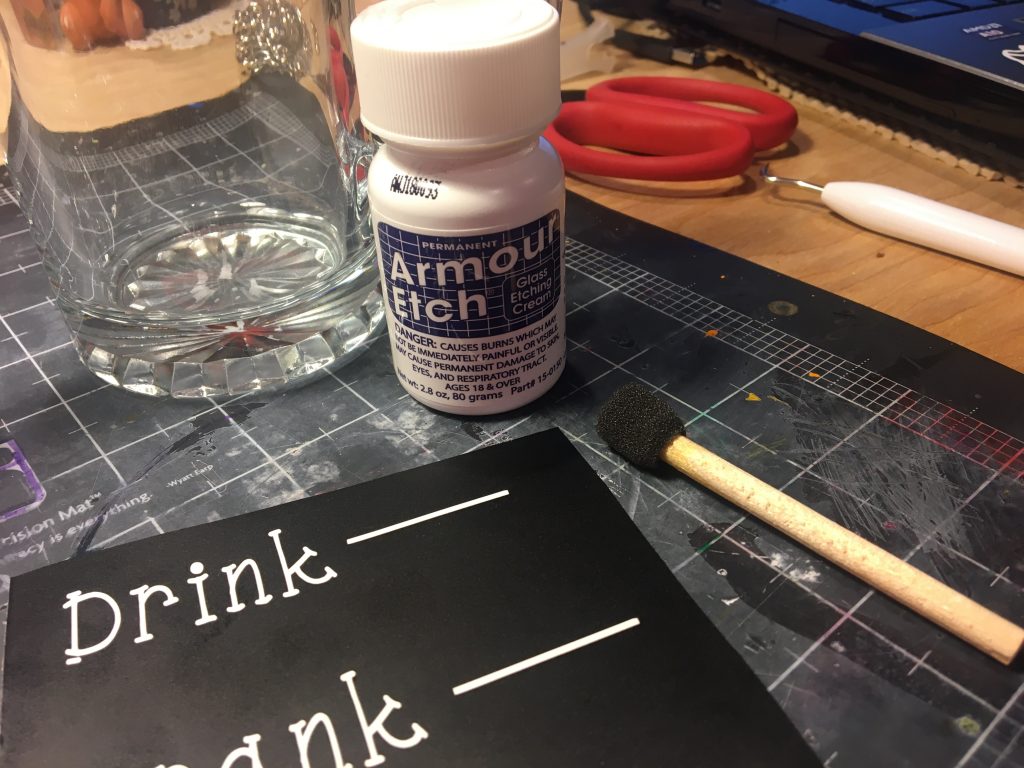
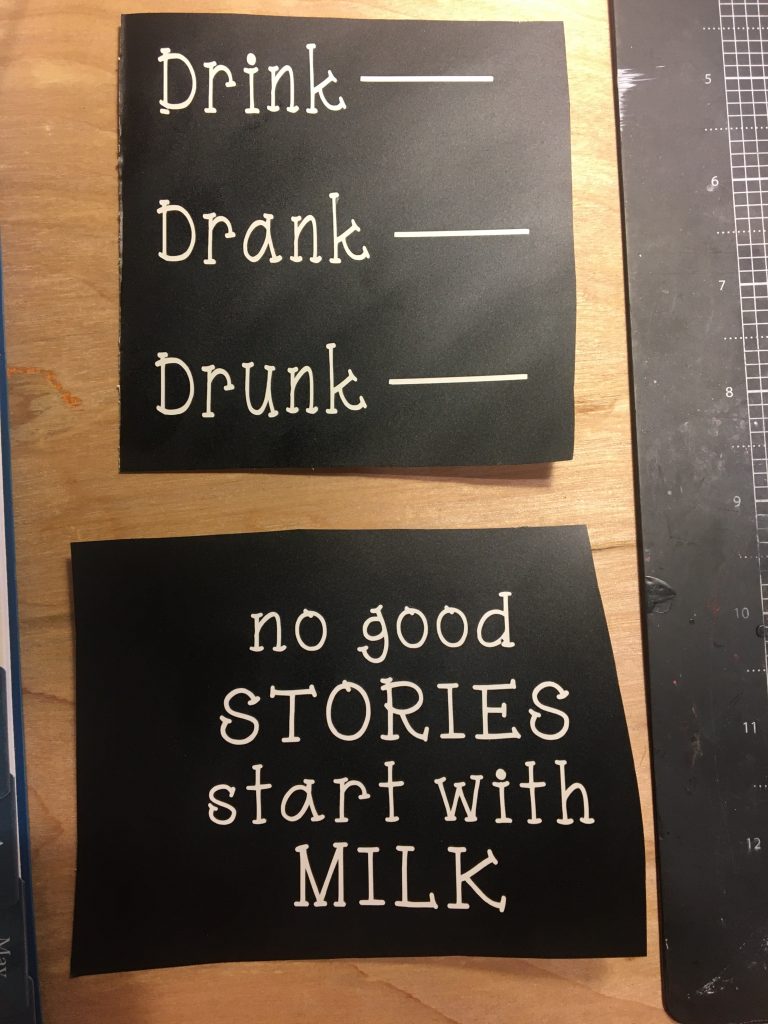
Once you have found an image you want to use for your project, open it in Cricut’s Design Space program and size it to fit your needs. Once you have it the way you want it to look, cut it out using the removable vinyl you have chosen. Next you’ll weed the pieces out that will be etched. It’s going to be the opposite of what you would do if you were doing a sign or shirt or something like that. Notice below that I weeded out the letters and the lines.
Next, I pull the design off of the backing using my transfer medium. In this case since the image was larger than a line of text, I used contact paper (you can buy this at Walmart). This will help with easy placement of the vinyl on your glass.

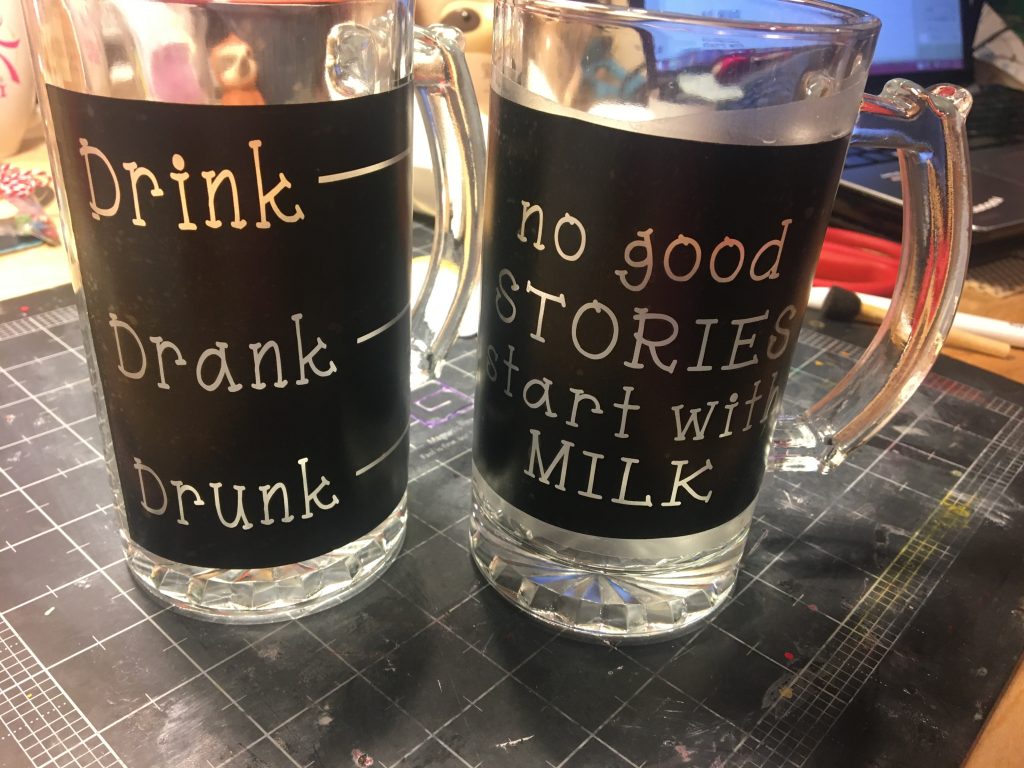
Now that the vinyl is on the glass, make sure to go around each letter and edge to get out any bubbles or possible spots where the etching cream can get under the vinyl. If it gets under, it will leave an unwanted etched spot on your project. I know this from experience. 🙁
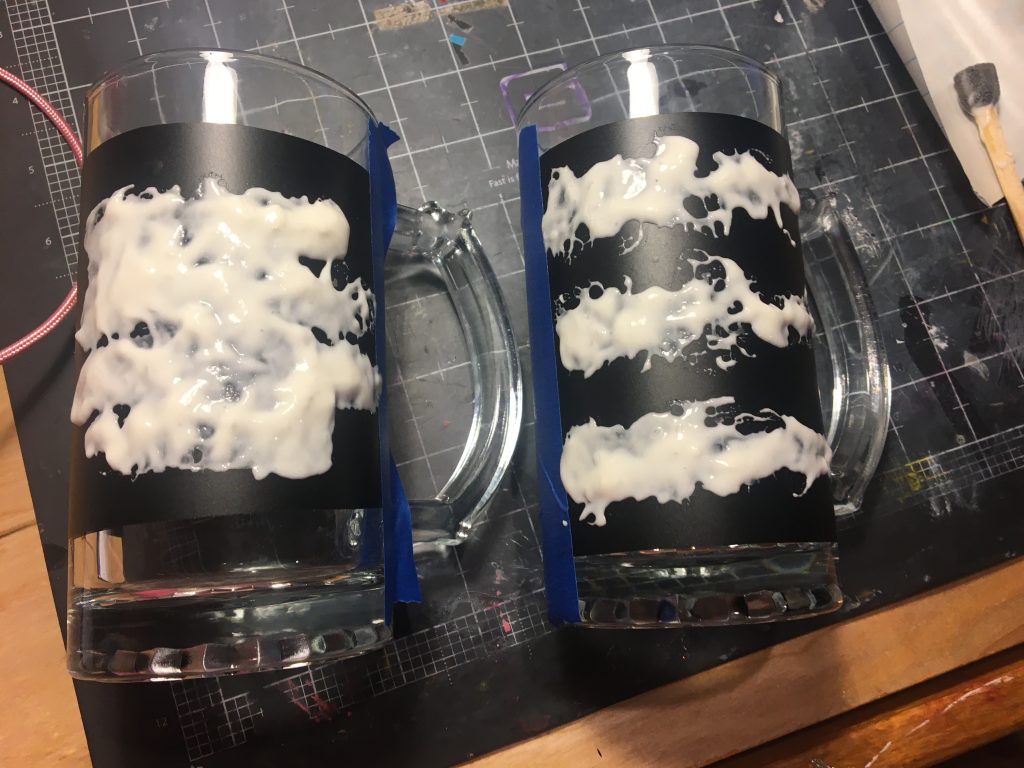
When I use the etching cream, I am pretty generous with it (see picture below). Through trial and error, I have learned to ‘glop’ it on my project. I have had things ruined because I didn’t get enough on and the etching was spotty. Not a good look when you are trying to do something for a gift.
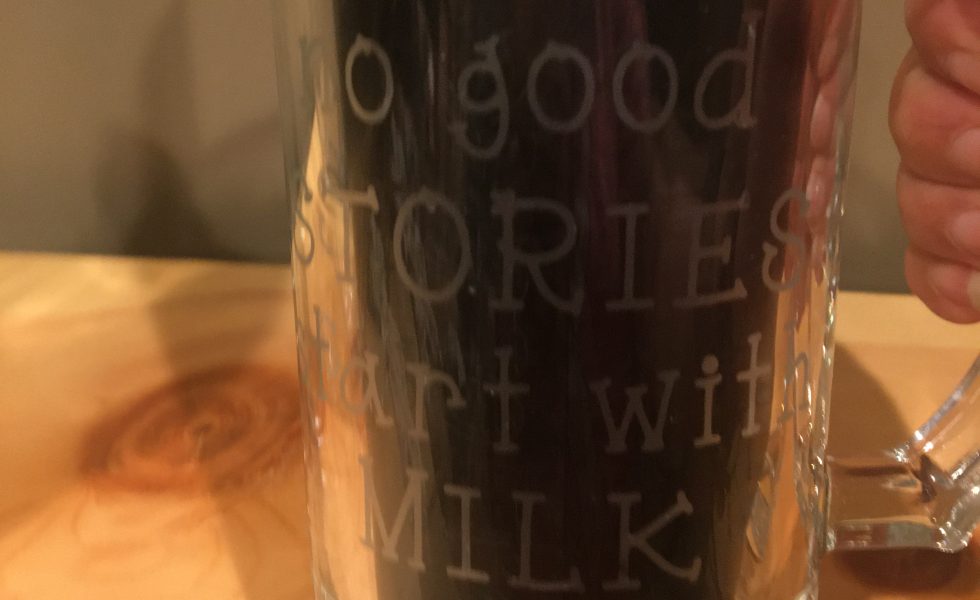
I have found leaving the cream on for at least 20 minutes gives me the best results. I left it on for about 30 minutes when I created these beer mugs.
When the time is up, rinse the cream off in a sink. I always rinse if off before I remove the vinyl. I worry that the rinse will create unwanted etching on other parts of the glass. I don’t think it will, but you never know. Removing the vinyl is easy. Just peel it away. If you have pieces inside the letters, you can use your dental pick tool to gently remove them.
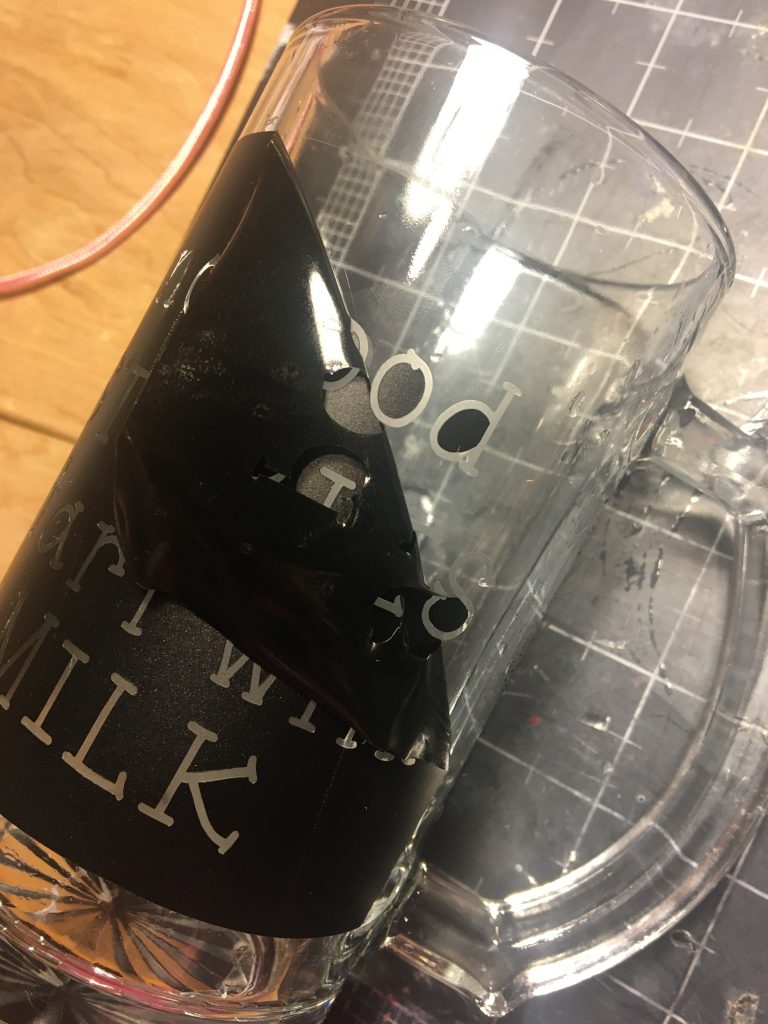
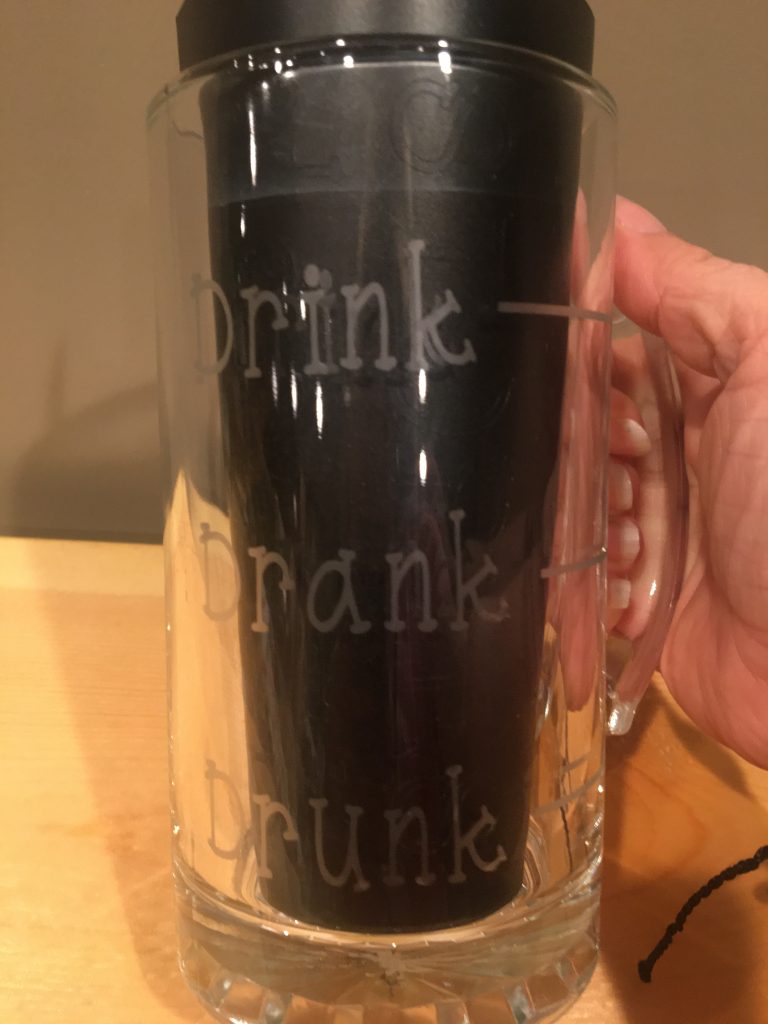
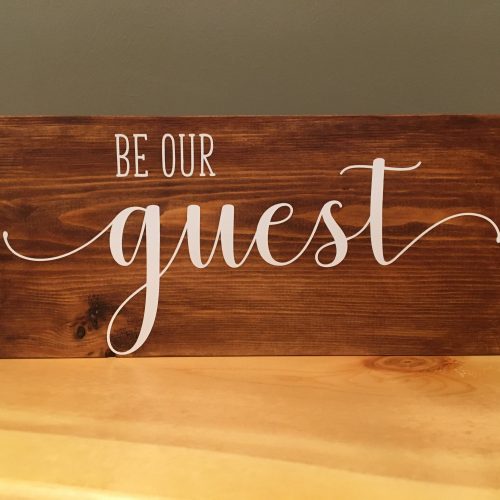
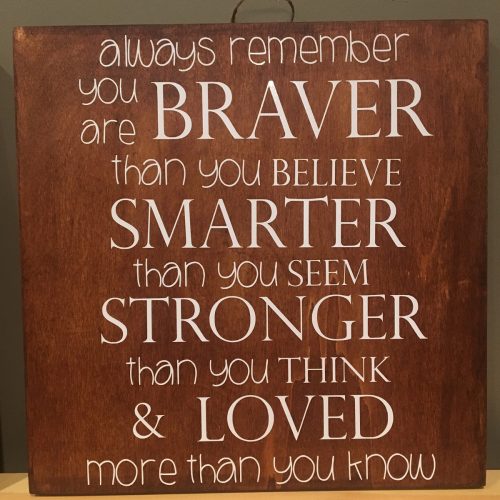
Here is the finished product. So now that you see how easy it is, what will you create?? Be sure to share it with me!
As always, please be contact me if you have questions or if you want to know how to do something. I’m always up for ideas on new blog posts and tutorials.